Oculus Rift S (Steam)
Quick Summary

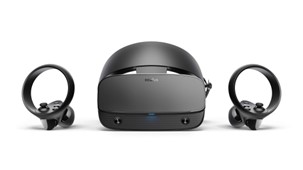
Oculus Rift S is a successor to the original Oculus Rift CV1 model, with noted changes including a new "inside-out" positional tracking system with cameras embedded inside the headset unit (similar to its sister device, the Oculus Quest), a higher-resolution display, and a new "halo" head strap.
Oculus Rift S documentation is a great place to start with learning.
The Kit
The Oculus Rift S kit will include the following items, please check that all items are present in the kit upon borrowing and returning.
- 1x Headset Oculus Rift S
- 1x Headset cable (5 meter)
- 2x Touch controllers
- 2x AA Battery
- DisplayPort to DisplayPort adapter

- If the original cable does not fit, take out the DisplayPort to DisplayPort adapter and connect it to the Displayport in the PC.
Setup
For the Video Tutorial click the link below.
Oculus Rift S Basics Tutorial Part 01: Device Setup
- Before you get started, make sure that your Rift S and PC firmware and software are up to date.
Install the Oculus app on your PC
To use your Oculus Rift S, you’ll need to download the Oculus Desktop app on your Windows PC. Before you install the Oculus Desktop app, check to make sure that your hard drive has at least 9.29 GB of free disk space.
- Go to the app download page, and find the download link for Oculus Rift S or click the link below to download. make sure that your hard drive has at least 9.29 GB of free disk space.
- Find your product and click Download software. The Oculus app will begin downloading to your computer.
- Open the Oculus Setup app from the Downloads folder on your computer and click Get started.
- Read and agree to the Terms and Conditions to continue.
- Select the drive you want to install the Oculus app to by clicking the drop-down menu under Location.
- Click Install now. When the installation is complete, log in to or create your account
- If you want to change the install location of the Oculus app once it's installed, you'll need to uninstall and reinstall the Oculus app and assign the new drive during the setup screen.
Learn how to manage and save Oculus PC apps in different locations on your computer via the link below.
Plug in your headset
Your Oculus Rift S uses USB 3.0 and DisplayPort connectors to connect to your computer. We've listed the different options that you can and can't use to connect your Rift S below:
Supported Connections:
- DisplayPort Connection: You can connect your Oculus Rift S to any DisplayPort port that is directly connected to a discrete GPU.
- Mini DisplayPort Connection: You can connect your Oculus Rift S to any Mini DisplayPort port that is directly connected to a discrete GPU using the mDP→DP adapter included with your Rift S.
Adjust headset fit and feel
Put on your headset and make sure it fits comfortably.
- Adjust the velcro top strap until the Rift S sits comfortably on your head.
- Rotate the fit wheel to adjust the tightness of the halo band.
- If you’re wearing glasses, put the headset on from the front first.
- Press the depth adjustment button on the bottom of the headset to adjust the lenses in or out for more clarity and a comfortable fit over the glasses.
Set up guardian
- Before using Rift S, make sure you have enough space around you. Move anything away that you might bump into or trip over. We recommend a play area of at least 3 feet x 3 feet, and 6.5 feet x 6.5 feet for room scale.
Guardian is a built-in safety feature that lets you set up boundaries in VR that appear when you get too close to the edge of your play area.
If you're setting up Guardian for the first time, follow the instructions that you see in your headset. You can also watch the videos below for an overview of setting up Guardian.
For the setup video of Guardian clicks the link below:
Oculus Quest Basics Tutorial Part 02: Play Area Setup
Enable Unknown Sources
- This part is crucial for Oculus Rift SteamVR connectivity.
Take your headset off and turn your attention to the Oculus desktop app.
SteamVR supports the Oculus Rift. When using the Rift with SteamVR, use the Back button on an Xbox controller to bring up and dismiss the SteamVR Dashboard.
To enable this, follow the instructions below:
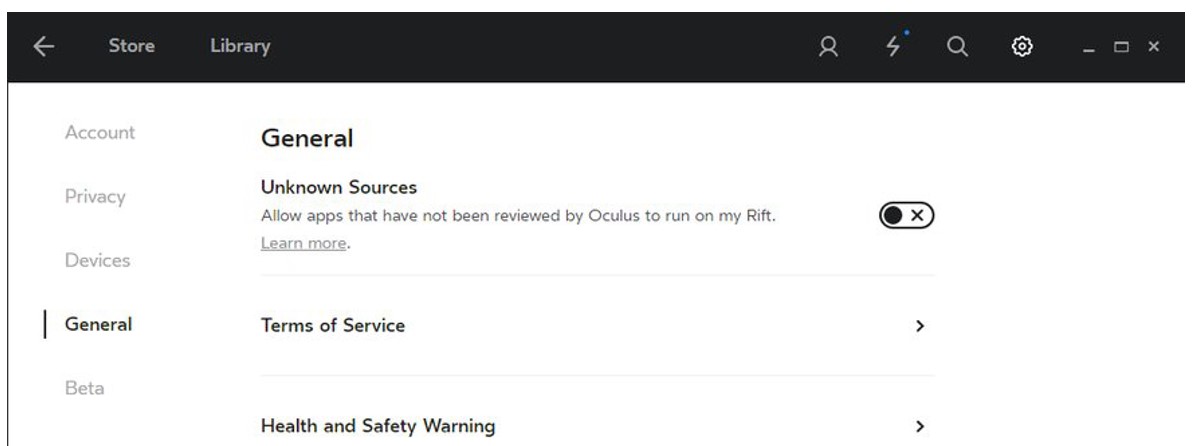
- Start the Oculus App on your computer and select the gear icon in the upper right.
- Select Settings.
- Select General on the left.
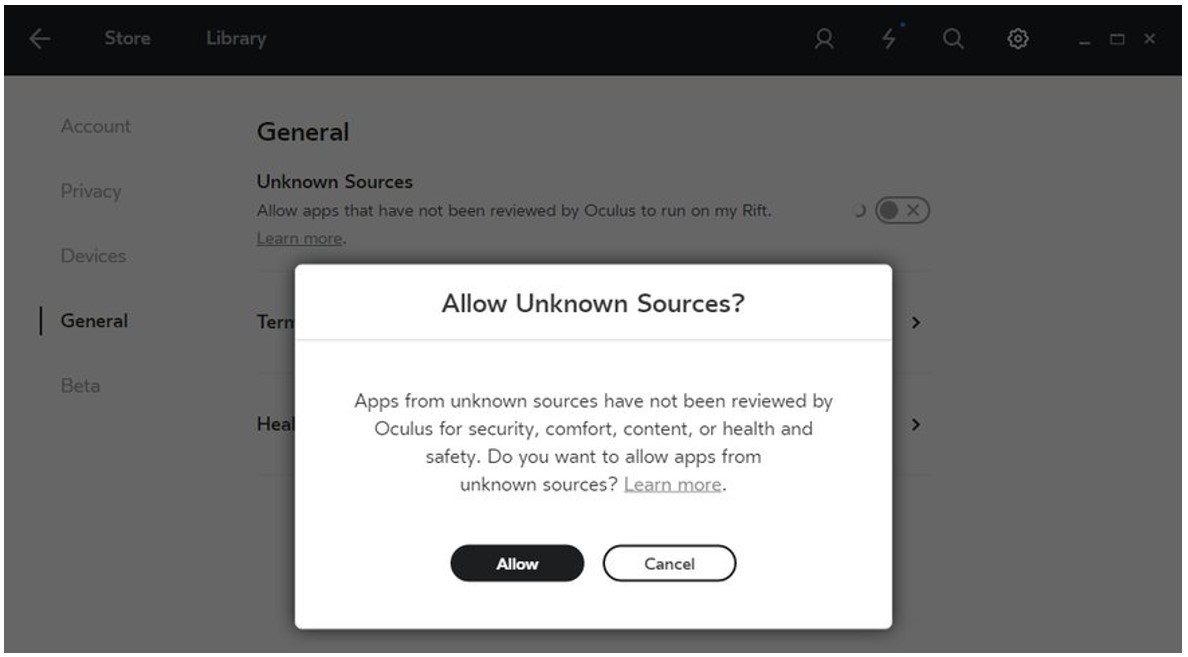
- Find the Unknown Sources toggle and click it so a check appears instead of an X.

- You will need to confirm this selection before it is enabled.

- Once enabled, you will be able to run SteamVR with the Oculus Rift.
- When using the Rift with SteamVR, use the Back button on an Xbox controller to bring up and dismiss the SteamVR Dashboard.
Download and Install SteamVR

You can do that by going to your:
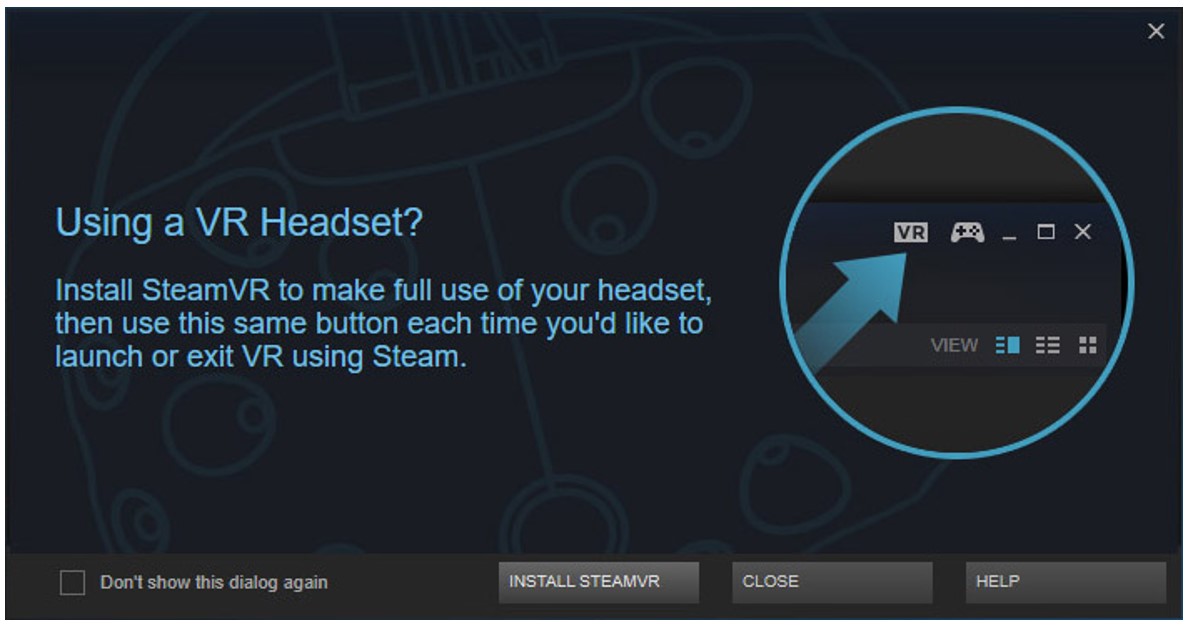
Launch Steam (install it from here if you haven’t already). If you aren’t automatically prompted with a pop-up to install SteamVR, go to Library > Tools and install SteamVR from the list.
Try Out Oculus Rift S With SteamVR
- Once SteamVR is installed, you’ll see a VR icon at the top right of the Steam window (near the minimize and maximize buttons). Click this to launch SteamVR.
- Put on Oculus Rift
